

Would you like to receive an immediate text notification every time someone submits a form on your website?
If so, here's how to set that up for free in 30 minutes or less.
And the best part ... no coding necessary!
Here are the steps ...
Step 1: Create A Free Zapier Account
Zapier is a service that connects applications and automates tasks with no coding required.
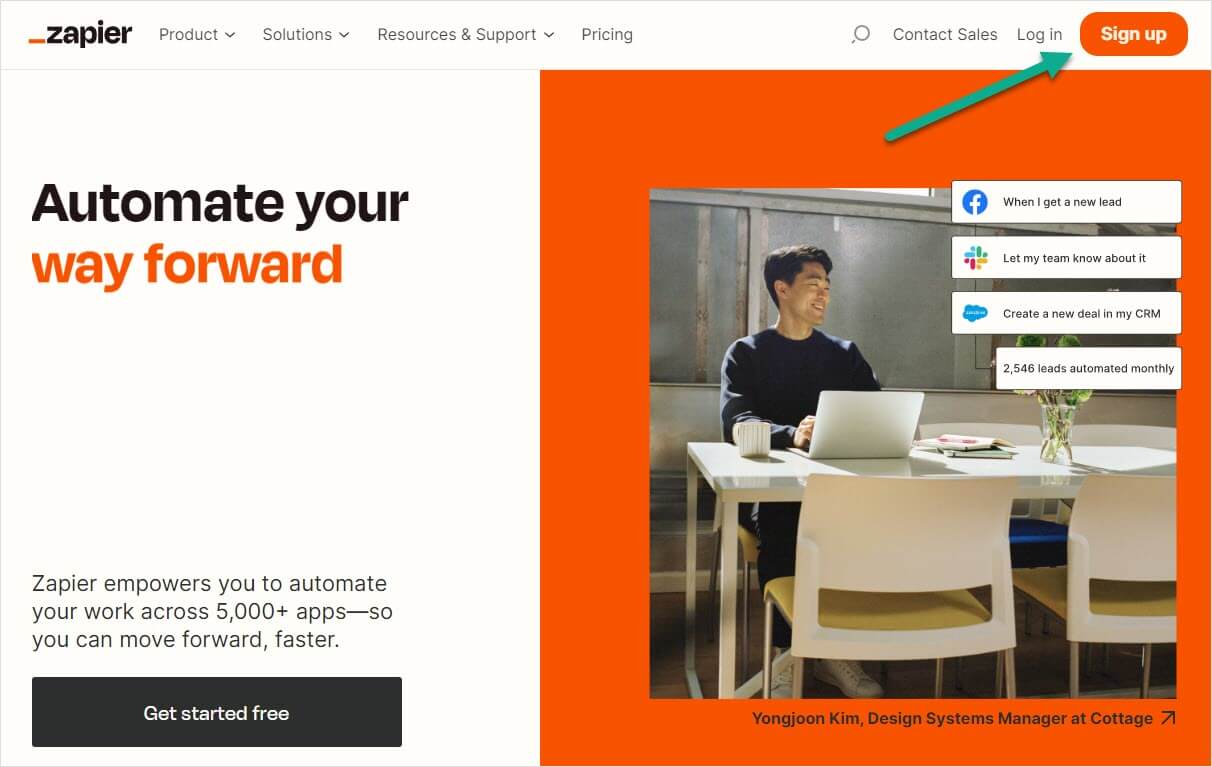
Go to zapier.com (Zapier rhymes with happier) and create a free account:
Step 2: Create A Zap
A Zap is an automated workflow that connects 2 or more applications together.
Each Zap consists of a trigger plus 1 or more actions.
The two applications we'll be using in our Zap are Gravity Forms and SMS by Zapier.
If your website uses a Gravity Forms alternative like Formidable Forms or Jot Form, this process still works. Just substitute your form builder for Gravity Forms.
If your website uses a Gravity Forms alternative like Formidable Forms or Jot Form, this process still works. Just substitute your form builder for Gravity Forms.
To begin, use this quickstart Zap recipe which takes you to this page:
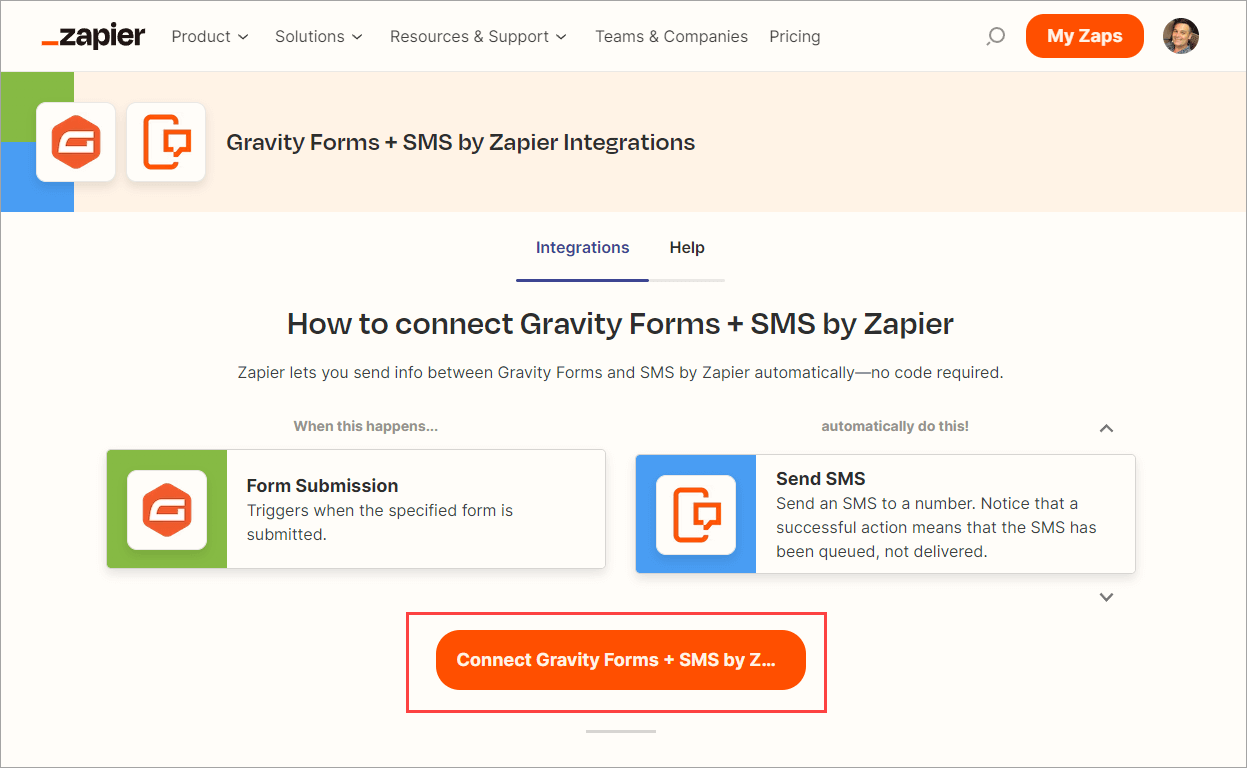
Click the big orange button labeled, "Connect Gravity Forms + SMS by Zapier".
You'll then see this page:
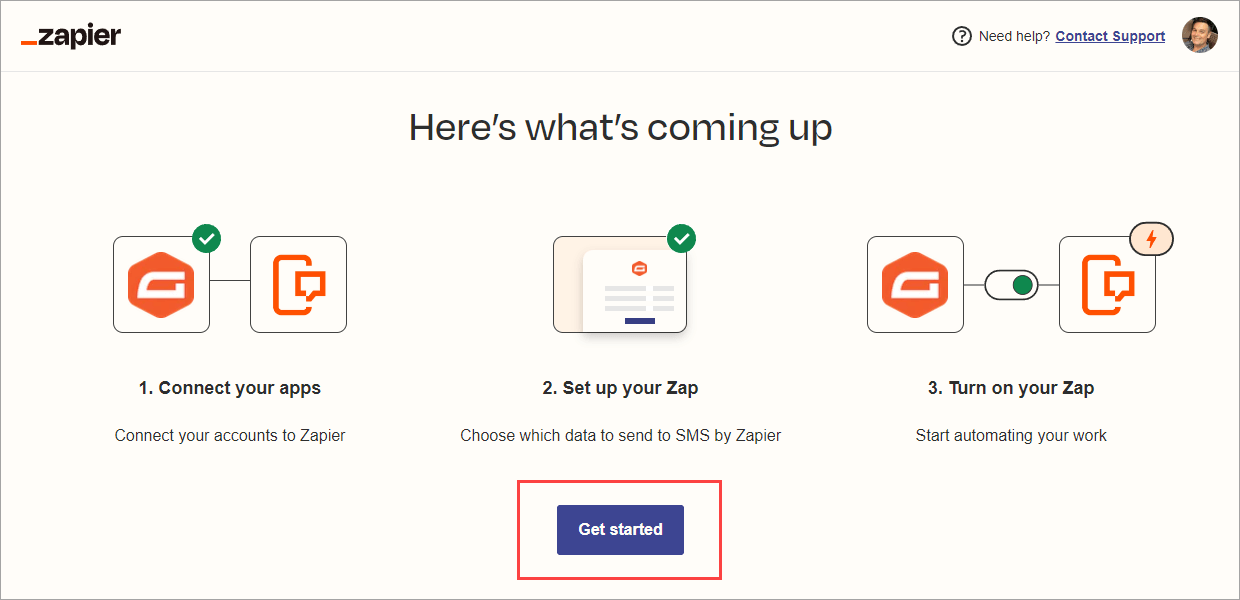
Click the blue "Get started" button and proceed to Step 3.
Step 3: Connect Gravity Forms
Continuing from the previous step, you should be at this page:
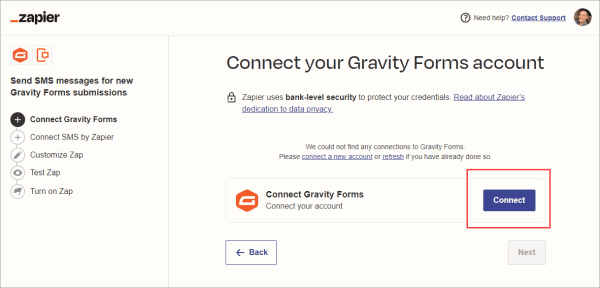
Click the blue "Connect" button and you'll see this popup box:
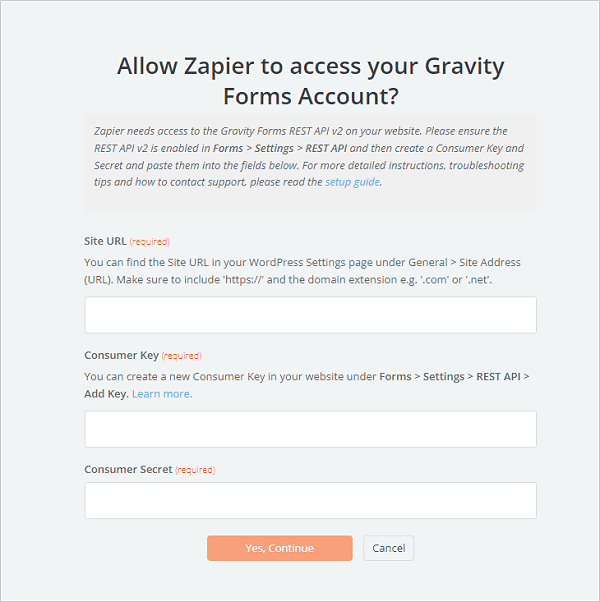
Here's what you enter into this popup box:
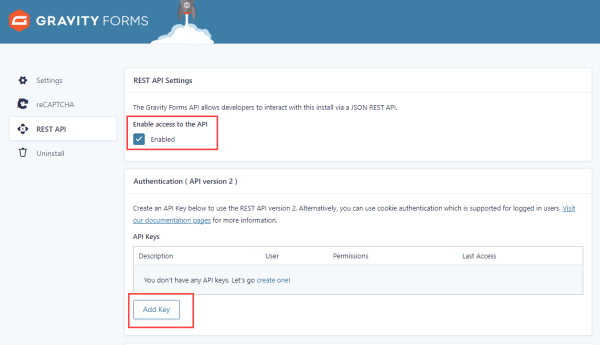
You'll then see this popup box:
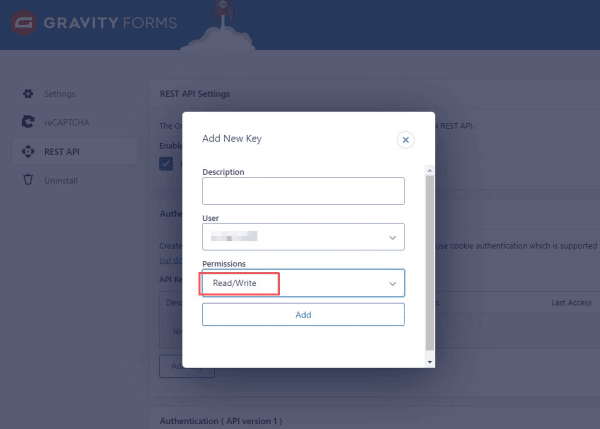
Make sure to select "Read/Write" in the Permissions field in this popup box. Then click the "Add" button and you'll see this popup box:
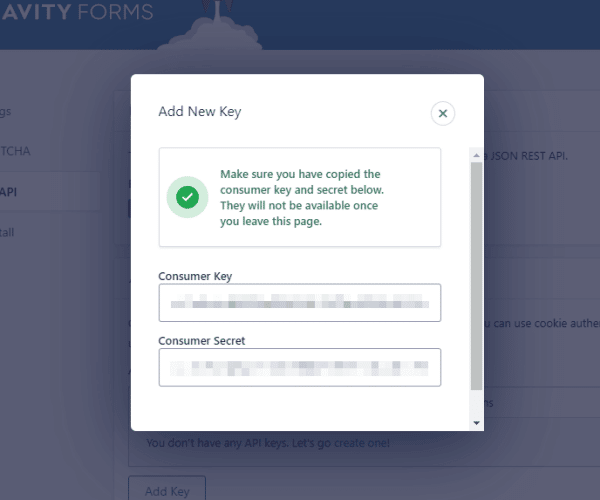
Copy & paste the Consumer Key and Consumer Secret into the popup box above titled "Allow Zapier to access your Gravity Forms Account?", then click the orange "Yes, Continue" button.
You'll then see the little green checkmark confirming you've connected your Gravity Forms account as shown below:
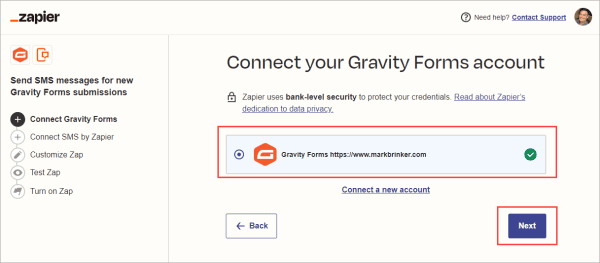
Click the blue "Next" button and you'll now see following screen asking you which specific Gravity Form you want to use in this Zap:
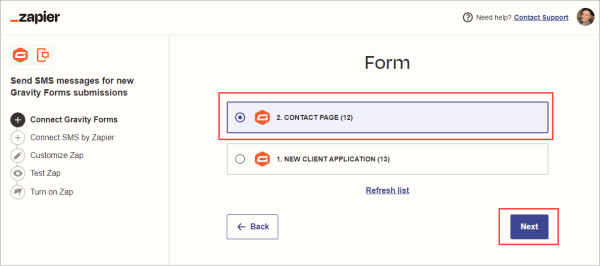
Choose your form, then click the blue "Next" button. You'll then be asked "Use Admin Field Labels?" as shown below:
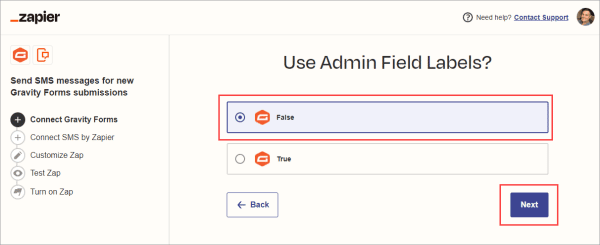
Select "False", then click the blue "Next" button.
You'll then be asked to "Enter a Gravity Forms Unique Name" as shown below. Just enter any name you want since it'll only be seen by you:
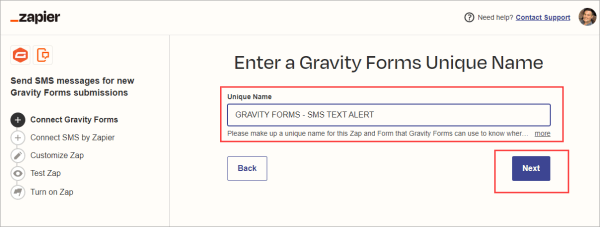
Click the blue "Next" button and you're done! You've successfully connected Gravity Forms to your Zapier account.
Step 4: Connect SMS By Zapier
Continuing on from the previous step, you'll now see this page:
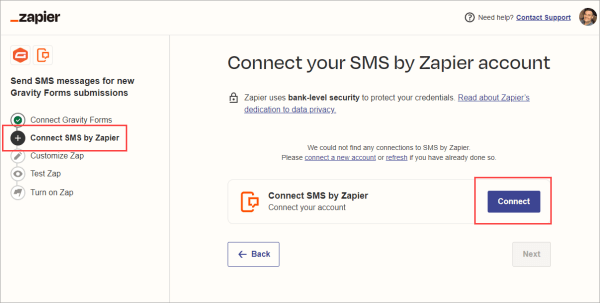
Click the blue "Connect" button, then you'll then see this popup:
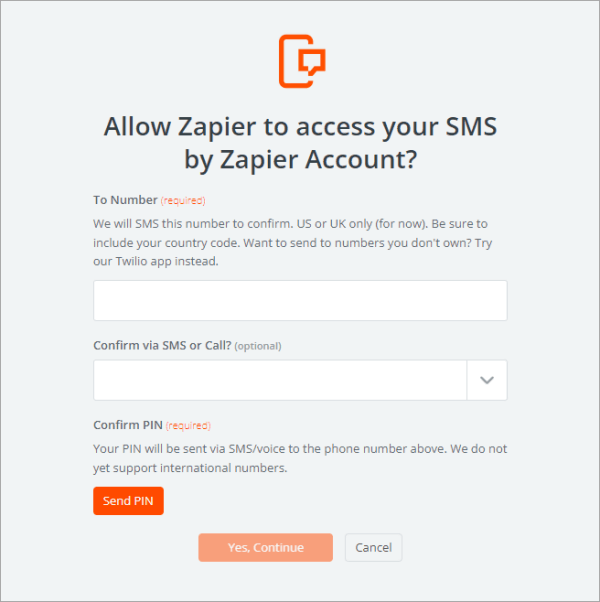
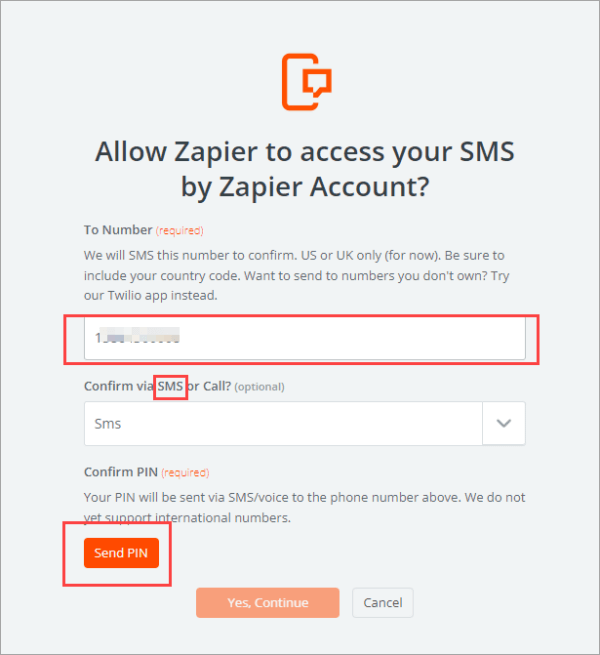
Enter your cell phone number and go thru the confirmation process. Note: Make sure to select "SMS" in the dropdown field "Confirm via SMS or Call?" as shown below:
Once your cell phone number is confirmed you'll see the little green checkmark confirming you've connected SMS by Zapier as shown below:
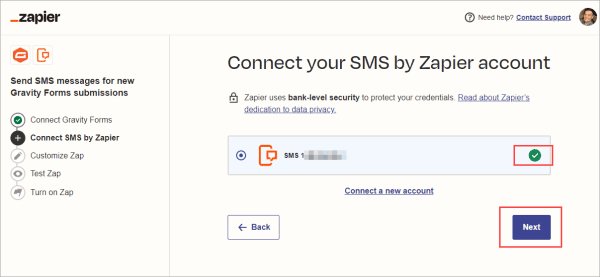
Click the blue "Next" button, then Zapier asks you which of their phone numbers you want to receive your text alerts from. Just select "Random" as shown below:

Click the blue "Next" button, then Zapier asks you to "Map fields from Gravity Forms into SMS by Zapier" as shown below:
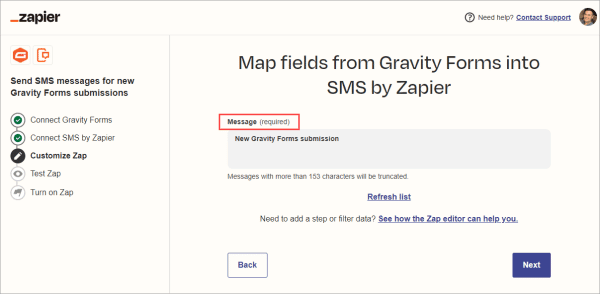
This is where you customize your text alert message.
If you want just a fixed (i.e. static) alert message, type that into the Message field.
If you want to include custom data from the form that was just submitted on your website, click in the Message field to reveal the "Elements" dropdown box and select the data you want passed from your web form to your text alert message, as shown below:
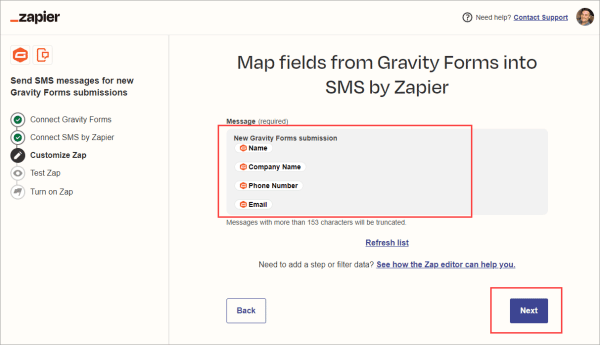
Click the blue "Next" button and you're done! You've now connected SMS by Zapier.
Step 5: Test Your Zap, Then Turn It On
Now it's time to test your Zap and confirm it's working.
Continuing on from the previous step, you should be seeing the following:
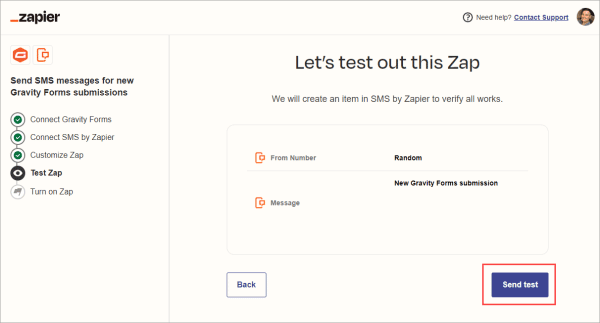
Click the blue "Send test" button, then you'll see the following:
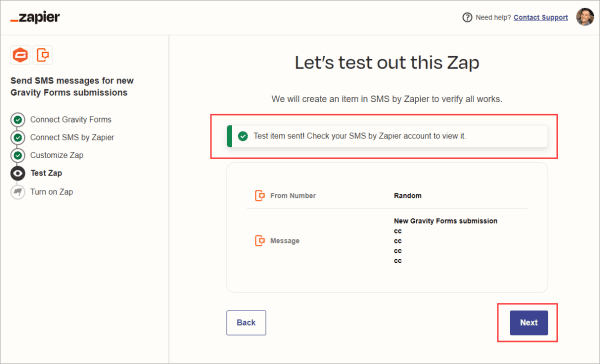
If everything is working, you'll get a text alert!
One final step, you need to turn on your Zap as shown below:
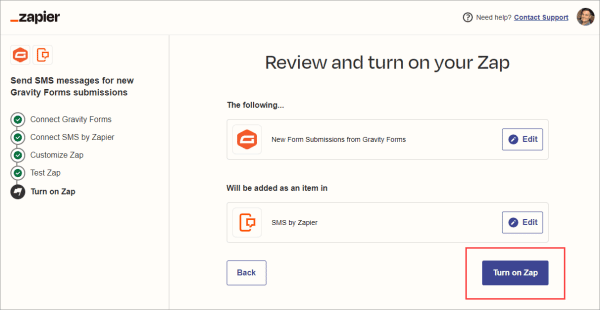
That's it. You're good to go!
Bottom Line
Just like a magic trick, setting up this text alert system is easy ... once you know the secret.
It's important to strike while the iron's hot. Study after study shows that sales drop off dramatically the longer you take responding to a lead.
Text alerts enables you to respond to hot prospects within minutes instead of hours.
And this one simple thing could be the difference between winning or losing your next sale.